
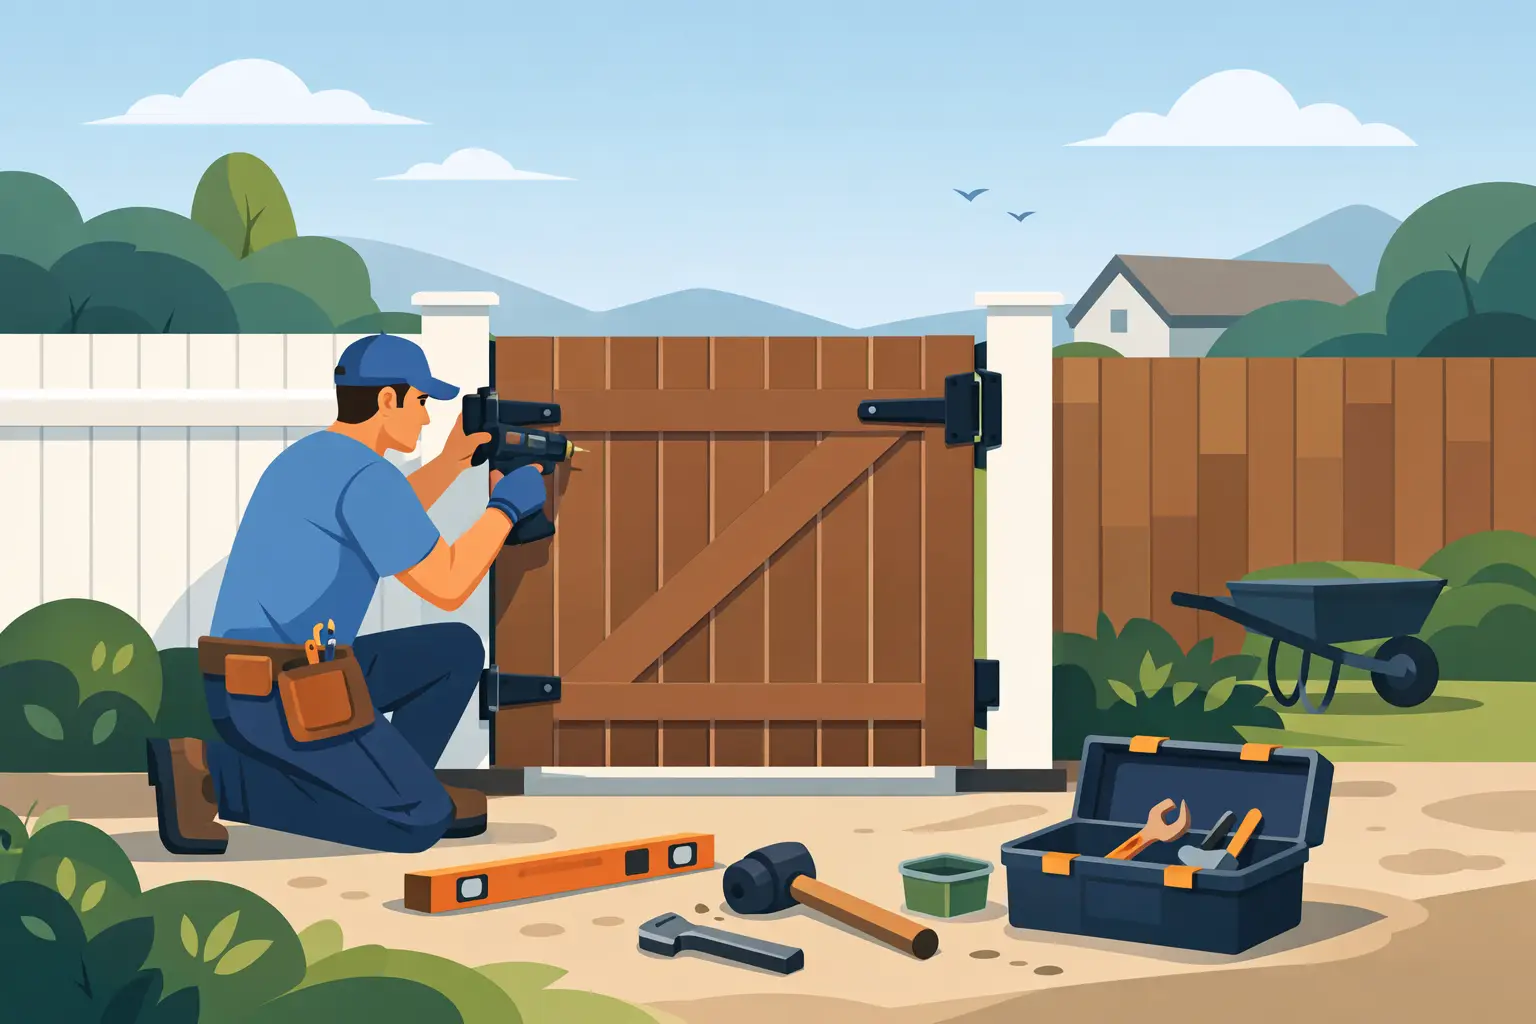
A gate that drops after a few weeks, catches on the ground or refuses to latch properly is usually not a bad gate - it is a bad install. If you are looking at how to install a new gate, the job starts long before the hinges go on. The opening, the posts, the fall of the ground and the gate weight all need to work together if you want a result that looks right and lasts.
For homeowners and landlords, the main aim is usually simple. You want a gate that opens cleanly, closes securely and stands up to Lancashire weather. That means getting the basics right rather than rushing through the fitting.
Before you install a new gate
The first thing to check is whether you are replacing an existing gate or fitting one into a completely new opening. A straight swap can still need adjustment if the old posts have moved, rotted at the base or pulled out of line. If the structure around the gate is unsound, a new leaf on old posts often ends in frustration.
Look closely at the opening width, the post condition and the ground level under the swing path. If the site slopes, you may need to allow more clearance at one side or consider the gate swing direction more carefully. It is also worth thinking about privacy, access and security. A side garden gate, for example, is usually fitted tighter and with more secure ironmongery than a light decorative gate between two garden sections.
Material matters too. A heavy timber gate puts much more strain on hinges and posts than a lighter softwood model. If you are fitting a driveway gate or anything unusually wide, standard posts and light fixings may not be enough.
Tools and materials you will usually need
Most domestic timber gate installations need a tape measure, spirit level, drill, suitable drill bits, spanners, fixings, hinges, latch hardware and packers. If new posts are being set, you will also need a post hole spade or auger, concrete and bracing timber.
The exact fixings depend on what you are fitting into. Timber posts are straightforward, but brick or masonry piers need the correct anchors and careful drilling. It is always better to match the hinge type and screw length to the gate weight rather than using whatever is in the shed.
How to install a new gate step by step
Measure the opening properly
Measure the width in at least three places - top, middle and bottom. Openings are not always perfectly square, especially in older gardens. Work to the smallest practical width and allow for hinge clearance, latch clearance and a sensible gap at the bottom.
For many pedestrian garden gates, a small side gap and around 50mm to 75mm ground clearance can work well, but it depends on the surface below. Gravel, uneven paving or rising ground may need more. Too tight, and the gate will scrape. Too high, and it can look poorly fitted and less secure.
Check or install the posts
Posts do most of the hard work. If they are weak, leaning or undersized, the gate will not stay true. Timber posts should be solid, upright and deep enough in the ground to resist movement. In many cases, a post depth of around 600mm or more is suitable for a domestic gate, but larger or heavier gates may need more substantial support.
When setting new posts, use a level on two faces and brace them before the concrete cures. Even a slight lean can affect the swing and latch alignment later on. This is one of the most common reasons DIY gate jobs end up needing rework.
Position the hinges on the gate
Lay the gate flat and mark out the hinge positions. For a standard timber gate, the top hinge is normally fixed near the top rail and the lower hinge near the bottom rail. On taller or heavier gates, hinge placement becomes even more important because it helps spread the load and reduce twisting.
Tee hinges are common on garden gates, while hook and band hinges are often used where more support is needed. Whichever style you choose, fix into solid framing rather than thin boards alone. If the gate has a braced back, make sure the brace runs correctly from the bottom hinge side up to the opposite top corner. That helps the gate carry its own weight.
Offer the gate into place
This is the stage where an extra pair of hands helps. Use timber packers underneath to hold the gate at the correct height while you check the gaps. Confirm that the top line looks level, the side clearances are even enough and the swing will not foul the ground.
Once you are happy, mark the hinge positions onto the post. Take your time here. A few millimetres out at the marking stage can be enough to create a noticeable drop or twist once the full weight is hanging.
Fix the hinges to the post
Drill pilot holes where needed and secure the hinges firmly. Do not fully tighten everything until you have checked the gate movement. Open and close it several times, looking for any binding, sagging or uneven gaps.
If the gate seems to pull down on the latch side straight away, that is usually a sign of poor hinge positioning, a weak post or a gate that is too heavy for the ironmongery. Small adjustments now are much easier than after the latch and stops are fitted.
Fit the latch and stops
With the gate hanging correctly, install the latch at a practical height. Make sure it engages cleanly without needing to lift or force the gate. A gate should close naturally and line up with the catch without strain.
Stops can help prevent over-travel and reduce stress on hinges and latches. If privacy and security matter, consider adding a lockable latch or key-operated hardware suited to external use.
Common problems when fitting a gate
Many issues come down to movement, weight or poor alignment. A gate that drags on the ground may have been fitted with too little clearance, but it can also mean the post has shifted or the gate has started to sag. If it swings open on its own, the posts may not be plumb. If it sticks in wet weather, timber expansion could be part of the problem, particularly if tolerances were too tight to begin with.
Weather exposure also matters. A fully boarded gate catches more wind than an open slatted design. In exposed spots, heavier duty posts, better hinges and more careful bracing are worth it. What works well in a sheltered rear garden may not suit a side access gate facing open weather.
When DIY works and when it does not
If you are fitting a straightforward side gate between sound timber posts, and you have decent tools and some practical experience, this can be a manageable job. The measurements are simpler, the weight is lower and there is usually room to adjust.
It becomes less straightforward when the opening is out of square, the ground slopes sharply, the gate is oversized or the posts need replacing. The same applies if the gate is being fixed to brick piers, or if you want a more bespoke finish that matches existing fencing and garden features. In those cases, the quality of the installation is what people notice first.
There is also a cost trade-off. A DIY job may seem cheaper, but if the gate drops, the latch fails or the posts move within a season, you can end up paying twice. A properly installed gate should feel solid from day one and continue working without constant adjustment.
How to install a new gate so it lasts
The best gate installations are not just square on the day they are fitted. They are built to cope with use, weather and natural movement over time. That means using treated timber where appropriate, exterior-grade fixings, hinges suited to the gate weight and posts sized for the job.
It also means paying attention to finishing details. Seal cut ends on timber components where needed, keep the bottom edge clear of standing water and make sure any surrounding fencing or walling does not place pressure on the posts. A tidy fit is good, but a little allowance for seasonal movement is often what keeps a gate working well through winter and summer alike.
For many properties, the gate is not a standalone feature. It needs to line up with fencing, maintain privacy, protect access and look in keeping with the rest of the garden. That is why many homeowners across Lancashire prefer to treat gate fitting as part of the wider boundary job rather than a quick add-on.
If you are planning how to install a new gate, focus less on simply getting it hung and more on getting it right. A gate should feel secure, look balanced and work smoothly every time you use it - and that usually comes down to careful preparation, sound posts and proper fitting from the start.