
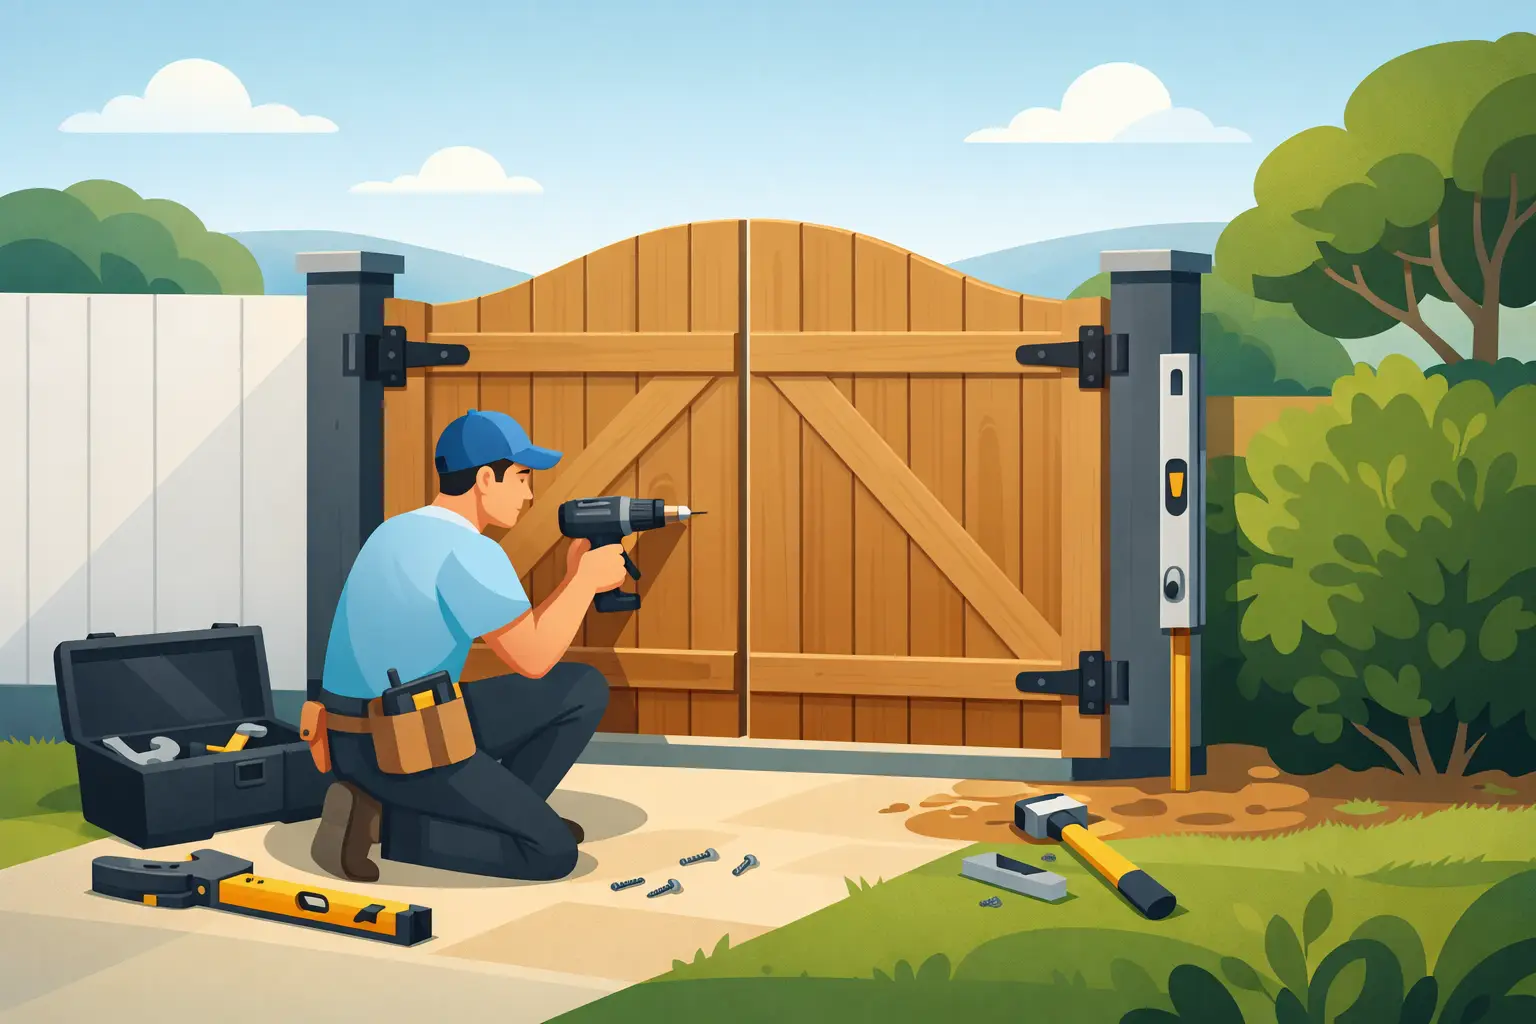
A gate that drops, catches on the ground or never quite lines up usually starts with one problem - it was fitted without enough attention to the posts, levels and swing clearance. If you are looking up how to install a new gate, the good news is that the job is straightforward in principle. The part that matters is getting the groundwork right so the gate still opens cleanly months and years later.
For homeowners and landlords across Lancashire, a new gate is usually about more than appearance. It can improve security, make access easier and tidy up a boundary that has seen better days. Whether you are replacing a tired side gate or fitting a new garden entrance, the same rule applies: the post installation matters just as much as the gate itself.
Before you install a new gate
Start by deciding exactly what the gate needs to do. A lightweight timber side gate between house and garden has different demands from a heavier driveway gate or a wider access gate used for bins, bikes or maintenance equipment. Width, height, wind exposure and frequency of use all affect the type of frame, hinges and posts you need.
It is also worth checking the surrounding fence line, wall or existing posts. There is little point fitting a solid new gate onto a weak, rotting or unstable support. In many repair jobs, the gate is blamed when the real issue is movement in the post or poor fixing into old masonry. If the support is questionable, deal with that first.
Take careful measurements of the opening in at least three places - top, middle and bottom. Openings are not always perfectly square, especially on older boundaries. Measure the gate height too, keeping in mind the ground level underneath. Gravel, block paving, grass and sloped paths all need different clearances.
Choosing the right gate and ironmongery
A common mistake is choosing a gate based only on appearance. Timber gates can look excellent, but they need to suit the setting. Closeboard and ledged-and-braced gates are popular for privacy and strength, while framed gates can feel lighter and more decorative. For side access, many households want something secure and practical rather than ornate.
Hinges should be matched to the gate weight. T-hinges can work well on lighter garden gates, while heavier field or driveway-style gates often need hook and band hinges. The latch matters too. A simple Suffolk latch may suit one location, but for side entries or rental properties, a lockable latch or key-operated bolt can be the better option.
Posts are just as important as the gate leaf. Timber posts are common and can work very well if properly set, but they need enough section size for the load. Heavier gates may be better on substantial timber or steel posts. If you are fixing to brickwork, make sure the wall is sound enough to take repeated opening and closing without loosening over time.
Tools and materials you will usually need
For most domestic gate installations, you will need a tape measure, spirit level, drill, suitable fixings, spanner set, saw if trimming is needed, post mix or concrete if setting new posts, and timber packers or wedges for positioning. A second pair of hands is often overlooked, but it makes a real difference when lifting and aligning the gate.
If you are replacing old posts, you may also need a spade, digging bar and breaker depending on the ground. Lancashire gardens vary a lot. Some sites are easy to excavate, while others have old concrete, heavy clay or tree roots to contend with. That can quickly turn a simple gate fit into a larger boundary job.
How to install a new gate step by step
1. Set or check the gate posts
If you are fitting new posts, position them so the opening suits the gate width plus hinge and closing clearances. Dig post holes deep enough for stability, usually with extra care for taller or heavier gates. The posts must be upright, aligned and allowed to set properly before hanging the gate.
This is the stage where patience pays off. If a post is even slightly out, the gate can swing unevenly or drift. On exposed sites, stronger foundations are often needed because wind puts more strain on both hinges and posts.
2. Mark hinge positions
Lay the gate flat and mark where the hinges will sit. On a timber ledged-and-braced gate, the hinge side and brace direction need to be correct. The braces should rise from the bottom hinge side towards the top closing side. If they are the wrong way round, the gate is not properly supporting its own weight.
Offer the hinges up neatly and check that all fixings will bite into solid timber. Do not place hardware too close to weak edges or knots where fixings may loosen.
3. Create the right gaps
Before fixing anything permanently, place the gate in the opening on packers. Leave enough space at the hinge side, latch side and bottom for smooth movement. Too tight and the gate will bind. Too loose and it may feel poor quality or become difficult to secure.
Ground clearance depends on the surface. Over paving, a smaller gap may be fine. Over gravel or uneven ground, you usually need more. If the ground rises across the swing path, this needs checking early or the gate may not open fully.
4. Fix the hinges and hang the gate
Attach the hinges to the gate first if that suits the hardware, then fix to the post while the gate is supported in position. Keep checking level and alignment as you go. It is easy for a gate to shift slightly during fixing, and small errors show up quickly once it starts swinging.
Open and close the gate several times before tightening everything fully. You are looking for smooth travel, consistent gaps and no rubbing on the ground or post.
5. Fit the latch, stop and any bolts
With the gate hanging correctly, install the latch so it closes cleanly without slamming or needing force. A gate stop can help it land in the right place and reduce strain on the latch. If extra security is needed, fit a padbolt or key-operated lock suited to outdoor use.
This final stage is often rushed, but a poorly positioned latch can spoil an otherwise good installation. The gate should feel secure and easy to use for everyone in the household.
Where gate installations go wrong
Most fitting issues come down to poor post stability, inaccurate measuring or not allowing for movement. Timber gates naturally respond to weather. They can swell slightly in wet conditions and shrink in dry spells. If the fit is too tight from day one, seasonal movement can cause sticking.
Weight is another factor. A heavier gate may look better and feel more secure, but it needs stronger support. That is why a quick like-for-like replacement does not always work if the new gate is built more solidly than the old one.
There is also the question of age in the surrounding structure. New hinges and fixings cannot compensate for a fence run that is leaning or a wall pier that is already moving. In those cases, the gate fitting should be treated as part of a wider repair or replacement job.
When a DIY installation makes sense
If the opening is square, the gate is relatively light and the posts are sound, many capable homeowners can fit a small garden gate successfully. This is especially true for straightforward side access gates where the hardware is simple and the ground is level.
That said, there is a difference between getting a gate on its hinges and fitting one properly. If you want a neat finish, dependable closing and long-term stability, precision matters. That becomes more important with larger gates, sloping gardens, awkward access or masonry fixings.
When it is better to bring in a gate fitter
If the old gate has failed because the posts moved, if the opening is out of square, or if you are dealing with a heavy timber driveway gate, professional installation is often the safer route. The same applies where there is storm damage, decayed fencing nearby or uncertainty about what size and style will work best.
A specialist contractor can also spot related problems early, such as weak fence posts, drainage issues around the base, or an opening that really needs rebuilding rather than simply reusing. For customers in places such as Blackburn, Preston, Burnley and surrounding Lancashire towns, that can save money compared with fitting a new gate onto a failing boundary and having to revisit the job shortly afterwards.
At Hulme Fencing Lancashire, gate work often sits alongside fence replacement or garden boundary improvements, because the best result usually comes from looking at the whole run rather than one component in isolation.
A better result starts with the opening, not the gate
If you remember one thing, make it this: the gate itself is only half the job. A good installation depends on sound posts, accurate spacing and hardware that suits the weight and use of the gate. Get those right and even a simple timber gate can give years of reliable service, improve security and finish the garden properly.